Thursday, July 15, 2010

Cry Baby Bunting..


And I could because I have just finished making my own bunting and it looks A.M.A.Z.I.N.G if I don't say so myself...and it couldn't be easier!!

There is something really lovely and special about bunting and I think it has something to do with my childhood.
Whenever something special was happening in our little town the bunting strung up from lamp post to lamp post would send out a silent alarm screaming....something special is happening!! Whether it would be the town market, or the outdoor swimming pool gala, or the flower show (Yes, it all went down in our town ha), roller disco and even the good old V.E.Day rendition – that went horribly wrong!
(I think the V.E Day rendition needs to be explained and could possibly explain a lot .... I don't know whose idea it was or why they did it but it was organised that the street in our main square would be closed and the roads lined with trestle tables, full of cake, sandwiches, and drinks to celebrate/ Commemorate V.E Day. Mum dressed us all up in Evacuee outfits (Which involved a brown hessian type coat and black shoes) and tagged us with a pin and a brown label that proudly displayed our names in big black ink!!
We arrived at the square only to find a sense of hysteria with children crying and wailing and mums trying to calm everyone, it seems the faux evacuee send off had gone horribly wrong and the children had actually assumed we were all being sent away.
After a few crisps (yes mum said we should only eat food that had come from a packet, because there were a few undesirable types in the town whose hygiene needed to be questioned) we left rather excited that we were going home, to OUR homes, to play with OUR toys and to sleep in Our own bed! I can still remember blinking up in to the evening sun at the white, red and blue bunting flapping around in the breeze and to this day you will never see Royal blue in my bunting ...Oh no!)

So anyway, Bunting...Bunting is a brilliant way of signifying an occasion, for celebrating the seasons or for just cheering up a room! You can have all kinds of bunting, all different size, colours, textures...It is never ending! I have chosen medium weight cotton fabrics with a medium sized triangle and have deliberately chosen mine to contemplate and yet clash... (as you will see in the photos). You could use really clashing fabric prints for instance, dots, stripes, cheques, florals .....or colours for instance, Pink and Reds, Blues and Greens. You could break all the rules and have different size triangles or shapes, and if that isn't enough to think about try using paper....The possibilities are endless!

Fabric Bunting

What You Will Need:

Fabric
Bias Binding (Or ribbon)
Card / Paper Template
Pinking Shears
Pins
Sewing Machine Or Needle and thread

Instructions:

Cut out a triangle template on to card or paper or even better baking paper. I drew my own up and each triangle roughly measures 7.5" Width by 7.5" straight down the centre. But play around and decide on a size that suits you.


Pin template to fabric and cut round with pinking shears. (Pinking shears are a handy jaggady edge scissors that cut the fabric to prevent it from fraying) Ensure fabric is right side up if it has a print. I have used 10 triangles on a 3 mtr length or bias binding but do more or less according to the length you want your bunting.
I also only did one sided triangles as they are strung up on my wall and no one will see the other side but if are hanging the bunting outside from tree to tree for example, or in a window it might be pretty to see both sides so you will need to either use double sided fabric or double your amount, pair them up and stitch / whizz them together on your sewing machine.

Lay bias binding out and place triangle where you want them, I have measured the gap between my fabric triangles and have done 3" between each but you can do it however way you want it....! It's also important to remember to leave enough room at the ends so it can be tied or pinned to tree or wall for example...I have left 12" free. Then when you love your layout fold the bias binding over the top of the triangles so that the fabric is tucked in and pin along. Or you can do opposite and fold the fabric over the binding...This is more time consuming as you will have to keep measuring the length of fabric so it all hangs well but again it’s completely up to you.

Now finally stitch / sew along bias binding to secure triangle to binding! I used a small straight stitch but zigzag looks good. Either stitch along whole length or just on triangles. Remember to remove pins as you go and there you have it!

Now let the addiction begin...Not content with my gorgeous shabby chic red dotty bunting I now have walls and walls layered with all different types of bunting....There is so much fun to be had with this and it is so easy...I made mine in about 30 mins! The most time consuming bit was picking out the fabric...!! My second attempt I decided to do a bit of a lucky dip in my fabric drawer and picked out whatever my hand (not head) chose!


Hope you love it.


Love, Loie x x

Monday, July 05, 2010

The Day I Baked A Cake ....

As I write this I giggle and squeak because finally I can hand on my heart say that summer is officially here in all its glory...and you know what that means... It means sitting out in the garden with your best china tea cups and saucers and a big (I mean mahooosssivvee) wedge of cake.... I'm talking door stop proportions that you struggle to get your mouth round and end up in a fit of giggles and excitement with fresh cream and jam round your chin...... I just love tea parties...With tea pots and cake stands and pretty table clothes!

Lucky for you I have the BEST most easiest Victoria sponge recipe in the world and what’s more... It's pretty much foolproof unless of course you don't have an oven, but I'm pretty positive this recipe is so good you could bake it over hot coals! Ha I am joking! If anyone is stupid enough to try this then please send me a picture!
Anyway....
This recipe should serve 8 but I won’t tell if you fancy a slice the slice of 4 servings...it is that good!
Cooking and Prep:
This takes only 15 minutes to whisk up
But a lonnnnggg 20 Minutes to cook in the oven!

Ingredients You Will Need:

225g / 8oz Butter (Pref softened...Unless you fancy a work out)
225g / 8oz Caster Sugar
(Normal sugar works fine if you are caught short)
4 Large FREE RANGE eggs (Please have a heart for the chickens....Eggs from a poor old hen stuck in a cage makes me feel sad plus free range tastes worlds better!!)
225g / 8oz Self Raising Flour


For The Filling:
6 tbsp of lovely Strawberry Jam (Or Raspberry if you’re a bit of a rebel)
300 ml / 10 ½ fl oz of Lightly Whipped Double Cream (This is what is my old tea stained recipe says but I usually go by eye and put on a bit less)

Purely For Decoration:
A light dusting of Icing Sugar

(My very creative big sister was distraught as she watched my carelessly chuck icing sugar over the top of my cake...She says the only reason she would make the cake would be so that she could stencil a nice heart shaped Icing sugar of love to the sponge....So go for it...Hell even put pink icing
and hundreds of thousands on the top....this really is up to you but personally I HEART a classic Country Sponge!)

P.S You’ll need two 15cm – 17.5cm / 6”-7” Cake tins!

Anyway... Make sure kitchen is clean and hands are washed....Important! No one wants to find dirt and dead skin in there slice...YUCK! I also recommend (and this is a clever little tip) filling up the kitchen sink with some warm water and washing up liquid so you can let your utensils soak as you go along and you can dip your hands in when you want to rinse off all the mixture....or you can just lick it off! Whom I kidding (just wash your lick off after!)

Method:
Firstly you will need to find someone to enjoy it with so ring around some friends, make sure your some family are gonna be around in about an hour’s time, or even make a prompt spontaneous visit to your local old people's home and turn up on the door step with this boxed beauty, ring the bells and leave it on the step....Old people just LOVE cake! I think this part of the recipe is important as I have been caught short without anyone to share with before and of course I just had to eat it...I still haven't walked off all the guilt as of yet!

Preheat the Oven to 180c / 350F / Gas 4
Grease your tins! Do this by ripping up a corner of grease proof paper, smothering it in butter and smudging it all around the tin. A precious little tip my mum passed on is to take a pinch a bit of flour and sprinkle it in the tin and then gently pat it around the tin so it sticks to the butter (I’m not quite sure why we do this but this most definitely works when it comes to getting the sponge out at the end!)
In a big bowl add your butter and sugar and mash it together so it creams in a bit. You can use an electric whisk to do this (After spending a good 40 minutes looking for my whisk bit I found it in the bathroom, attached to my dads drill in which he ingeniously bodged together to make a miniture cement mixer... I marvel at his initiative but I think its best mum doesn’t find out!) or a wooden spoon (I also have no idea where the wooden spoon has gone. If you are using a wooden spoon then make sure you beat lots of air into the mixture as this will help it rise. The best method to use is ‘fold and cut’; all you have to do is fold the mixture in a circle at cut through it with a spoon down the middle. The mixture will become a lot lighter and fluffy!

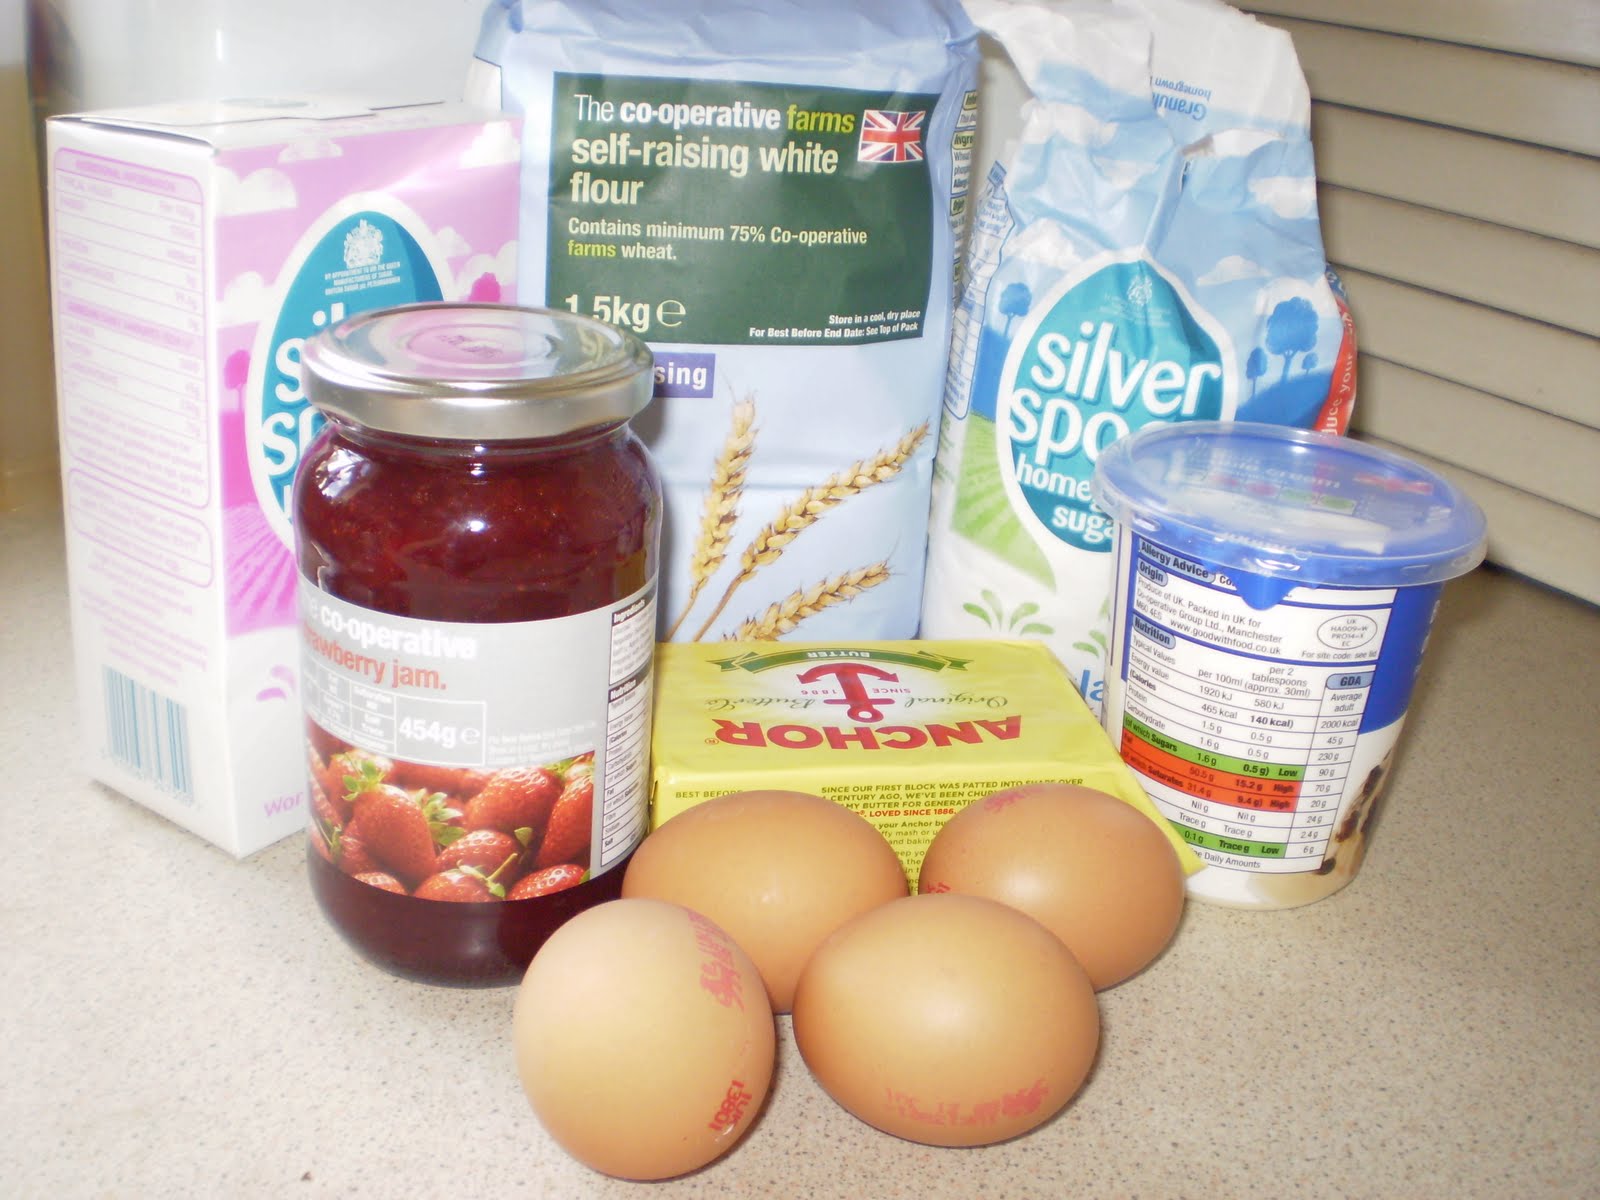
Beat in all four eggs, one at a time and if the mixture looks as though it's curdling then add a tablespoon of flour after each egg if needed just to keep it happy!

Now the bit I love, time to add the flour. Add all the flour and give it a mix with a metal spoon but don't get carried away as you can over mix it and we don't want that. Just mix up until it looks smoothish and creamy.

Add the mixture to the greased tins one spoonful at a time! I say this as it’s very important to ensure equal measures in each tin else you will have one huge top and one small bottom. Try to get it spoon for spoon! Once all the mixtures is in the tins, give it a bit of a smooth over (Don't be meticulous....The heat will even it out in the oven...I didn't know this until I was caught by gran practically in tears because I couldn’t get it level) and then do a imaginary magic pat (in your head)as you would a sandcastle, just for good luck.

Nearly there now, Place both tins in the oven on the same shelf (if you can) roughly in the middle on gas mark 4 for roughly 20 minutes, this may take longer! You will know when the sponge is ready when you can press the cake gently and it springs back. The colour of the sponge should be pale and golden and another useful tip passed down to me is that cake has its own very useful way of telling you when it's cooked.....You can start to smell it wafting out of the oven! it’s TRUE! But in case your cake isn't much of a talker make sure you keep checking it.....Try not to open the oven too much though. Whoooa, its all such a balance, it's really not that hard though. Wait 20 minutess have a peek in the oven and go from there.

Now your cake is cooked and is looking magnificent if not a little naked it’s time to gently pat the cake out of the tin (Cut round the cake with a knife in the tin just to loosen it) and then pat and gently nudge it out! Let it rest on a cooling rack and while we wait for it to cool down we can make the filling...Yummmm!

Whisk the double cream up until light and fluffy (DO NOT OVER WHISK - ELSE YOU'LL HAVE A CHEESE CAKE! )let the cream sit in the fridge until cake has cooled down.

Make sure the sponge is not warm else the filling will slip and slide all over the place, the cake needs to be completely cool...Room temp! Now spread the jam on to one sandwhich and spoon the cream out to the other sandwhich and then gently sandwhich together....Yippee!

Dust / stencil / graffitti or whatever else you fancy doing to the cake with icing sugar......

And voila you have your own lovely country Victoria Sponge Cake.....Easy Peasy!

Hope you love it,

Love Loie x

Sunday, July 04, 2010

Hello x


This is the question I ask myself daily and I'm yet to find the answer but I CAN answer your question relating to this blog.

My name is Lauren, I am known as Loie to all those that know me. I live in a small town in the middle of nowhere surrounded by beautiful country side and not too far away from the beach.

I love pretty things such as bows, buttons and lace, I love flowery perfumes, old books, taking pictures. I love eating tomatoes like you would an apple, I love baking, and sewing and eating food. I love the ocean and beaches, and sand on my toes (long before I have left the beach), I love wooden things and tin things and sparkly things, I love to collect, and to treasure and to share! I love the sun and the rain, I love summer and winter equally too. I love thunder, and snow and windy nights, I love my family and friends very muchly! I love love letters and being in love and happy endings, I heart making things from nothing or from something. I love sewing and stiching, sticking and knitting, I love baking and cooking, I love recycling, upcycling, downcycling, cycling.... I love travelling and exploring, sitting and sleeping. I love anything Kitsch, shabby or retro. I love finding things!

I don't like animals so much, or people that don't care for anything. I don't believe in love at first sight, I don't like Tuna, or clowns or sirens. I don't like it when people cry and I don't like watching old people eat as it makes me feel sad, I don't like quiz, or spiders or headaches. I don't like it when time passes by and I really don't like it when you loose something....

You may now ask who is Loie and why is she lost? Well Loie is me, it's actually my nickname given to me by my amazing daddy, it always has been and always will be.

But I like to think that Loie represents every woman before me in my huge family of colourful, beautiful, strong girls who mastered the art of 'making do' and passed tips and secrets down to each generation! I am the 5th generation of an 'all girl' creative bunch it has been this way for 100 years! (well until my beautiful baby boy nephew was born this year...and sent us all in to a sublime state of shock!!)

So I thought how nice it would be if I could post here (perhaps?) weekly bits and pieces I have made and share how I have done so for you all to do and pass on....from cakes to hankerchiefs! Bunting to growing veg! and anything and everything in between!

I hope you'll check back from time to time and get some inpiration to make bake and share! The idea is to produce one off boutique style bits and pieces for a fraction of the price...using bits and pieces you already have hidden away.

Love Loie x